So, you finally decided to create your website. Great choice!
Whether you’re starting a business, building your personal brand, or sharing your passion, having your own website gives you freedom and control. Let’s go step by step through the process of creating a website — it’s easier than you think.
Step 1: Choose Your Hosting Provider
Okay, first things first — you’ll need a hosting provider.
Hosting is like your website’s home. It’s where all your files, images, and content live.
I personally recommend Hostinger.
They’re reliable, beginner-friendly, and super affordable — especially during their amazing Black Friday offer you don’t want to miss!
Once you pick your hosting plan, you’ll get a domain (your website address) and access to your hosting dashboard. That’s your starting point.
Step 2: Decide How You Want to Build Your Website
Next question — how do you want to build it?
You have two main options:
- Use the Hostinger Website Builder
- Install WordPress
If you want something quick and visual — Hostinger’s builder is perfect. You can drag, drop, and publish your site in minutes.
But if you want more flexibility and control — go with WordPress.
Step 3: What Is WordPress?
WordPress is the world’s most popular website platform.
It’s open-source, meaning you can customize it however you like. You’ll find thousands of themes, plugins, and tools to make your website unique.
From blogs and portfolios to online stores — WordPress can handle it all.
Step 4: Choose Your WordPress Theme
Once WordPress is installed, it’s time to give your site some style.
That’s where themes come in — they define how your website looks and feels.
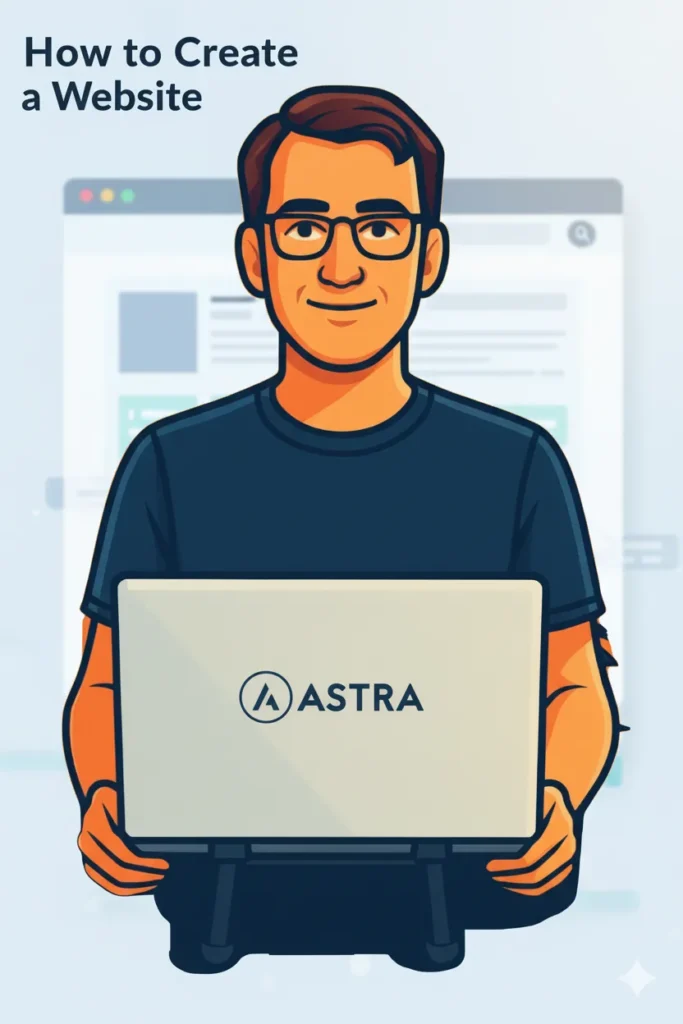
One of the most popular WordPress themes is Astra.
It’s lightweight, fast, and beginner-friendly — perfect for freelancers, small businesses, and creators.
Astra has a free version, which already gives you plenty of customization options and beautiful templates to start with. You can easily adjust colors, fonts, and layouts without touching any code.
If you want to unlock more — like advanced design settings, custom layouts, sticky headers, and deep integration with tools like WooCommerce — then Astra Pro (the premium version) is worth it.
It’s a great investment if you want your site to stand out or plan to grow your business online.
(I’ll write more about Astra in a separate post soon, so stay tuned — it deserves its own spotlight.)
Step 5: Make It Yours
After choosing your theme, start adding your content — your story, services, products, or portfolio.
Add pages like Home, About, Blog, and Contact. Keep your text simple and clear.
Your website doesn’t have to be perfect on day one. What matters most is starting. You can always improve and grow as you go.
Step 6: Publish and Share
Once your site looks good — hit publish!
Your website is now live for the world to see.
If you liked this post, share it on your socials.
If you know someone who’s thinking about creating their own website — share this with them too.
And if you enjoy topics like this, subscribe to my newsletter.
Subscribers get special bonuses and early access to helpful tips for building an online presence.
⚖️ Affiliate Disclosure
Some links in this post are affiliate links — meaning I may earn a small commission if you decide to purchase through them, at no extra cost to you. I only recommend tools I’ve personally tested or truly believe will help freelancers and digital creators grow smarter, not harder.
📬 Want more tips like this?
Subscribe to get fresh blog posts directly to your inbox.

